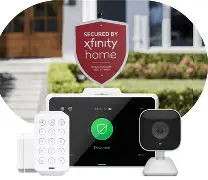
Xfinity Security WiFi: Protect Your Network
In this guide, we’ll walk you through the process of setting up and activating Xfinity’s security WiFi. We will also cover how to secure your network using Xfi Advanced Security.

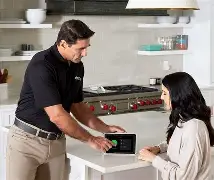
Installing and Activating Xfinity Self Protection
Follow these steps to set up your Xfinity camera:
1. Find an indoor outlet with sufficient Wi-Fi coverage for your camera.
2. Pair the camera with your Xfinity account using the Xfinity app and add the camera.
3. Place the camera where you want it, plug it in, and follow the remaining instructions. If mounting to a wall, use the materials provided in the Getting Started Kit to attach securely. You may need additional tools such as a drill with appropriate drill bit, masonry drill bit, hammer, Phillips head screwdriver, and silicone sealant.
Securing Your Network with Xfi Advanced Security
1. Download the Xfinity app and sign in using your Xfinity ID and password. Forgot your credentials? Don’t worry, you can retrieve them easily.
2. If suspicious activity is detected on your home Wi-Fi network, you will see a security status in the Overview section. Tap View Effected Devices to learn more.
3. Address any issues by following the instructions provided. You may be asked to pause, disconnect or restart devices, update software, or unblock access to certain sites.
Setting Up Advanced Security Notifications
1. Tap the notifications icon in the top left corner of your screen.
2. Tap the gear icon on the right.
3. Select Push notifications and tap the box by Network Activity.