Arlo Go 2 LTE/Wi-Fi Security Camera: A Comprehensive Guide
The Arlo Go 2 LTE Wi-Fi security camera is a versatile device that connects to an LTE network for use in remote areas, and also supports Wi-Fi. This article will guide you through the setup process and provide useful insights about this innovative security camera.
What’s in the Box
- Quick start guide
- Rechargeable battery
- Indoor charging cable
- Screw mount kit
- SIM card (if provided by carrier)
Setting Up Your Arlo Go 2 Camera
First, download the Arlo app to your phone or tablet and create an account if you are a new user. Then, follow these steps:
- Select Add New Device > Cameras > Go 2.
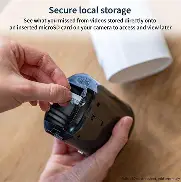
- Press the button on the bottom of the camera to release the housing.
- If using an LTE plan, insert your SIM card and battery.
- Replace the housing and apply firm pressure until it clicks into place.
- If the LED light on the camera isn’t blinking blue, open the camera housing and press the Sync button.
Key Features of Arlo Go 2
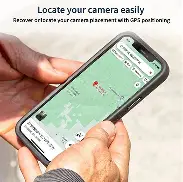
- Versatile: Connects to an LTE network for remote areas, and Wi-Fi for reliable networks.
- Wire-free: Rechargeable battery for placement anywhere.
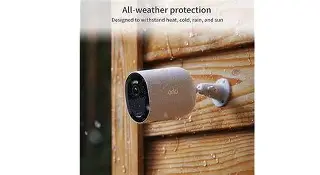
- All-weather protection: Year-round durability for various environments.
- Smart notifications: AI detects people, packages, vehicles, or animals.
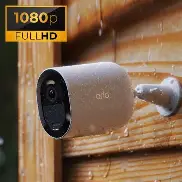
- HD quality videos: View in crisp, clear detail.
- Integrated spotlight and color night vision: Captures details even in the dark.
- Emergency responders: Send alerts to fire, police, or medical services from your lock screen.

Arlo Secure Plan
With the optional Arlo Secure plan, you can review footage from the cloud on your mobile device and capture up to 30 days of footage.
Privacy and Security
Rest assured knowing that your data is yours and yours alone with Arlo’s commitment to privacy and security.
All-weather Durability
The all-weather protection makes the Arlo Go 2 perfect for year-round use in various environments, such as construction sites, vacation homes, boats, RVs, and more.